
Best Encharge Integrations: 6 Apps by Workflow and Fit
Compare the best Encharge integrations for CRM sync, product events, forms, checkout, and recurring email verification. Choose your next connection today.
Which Encharge integrations fit your workflow?
Choose Encharge integrations by the data your next Flow needs: HubSpot for CRM records, Segment for product events, Intercom for messaging, ThriveCart for purchases, and ConvertBox for forms. Add mailfloss for recurring contact cleaning or real-time verification through its API for developers and AI agents.
Choose Encharge integrations by the data your next Flow needs: HubSpot for CRM records, Segment for product events, Intercom for messaging, ThriveCart for purchases, and ConvertBox for forms. Add mailfloss for recurring contact cleaning or real-time verification through its API for developers and AI agents.
By mailfloss. Connection documentation reviewed September 15, 2026.
How should you choose an Encharge integration?
Choose the connection that supplies the missing input for one useful Encharge Flow. A sales handoff needs different information from a purchase follow-up. Start with the customer action, identify where that action is recorded, and decide what Encharge should do with it.
Our selection framework asks four questions: where does setup happen, what arrives in Encharge, which trigger consumes it, and what evidence would show that the workflow is working? The six apps below cover distinct jobs. Their order is editorial, not a performance ranking, and the recommendations are based on documentation rather than a hands-on benchmark.
This matters because Encharge integrations do not share one setup pattern. Some use the Apps page; others are configured in the source tool. Encharge also distinguishes connecting an app from using its data in a Flow. A successful connection is your starting point, not your acceptance test. Encharge’s app connection guide
For each candidate, write a sentence such as: “When this source records this action, this person should receive this next step.” If that sentence needs several exceptions, record them before opening the Flow builder. You will make better decisions about fields, event properties, and repeat handling with a concrete outcome in front of you.
Which connection fits each Encharge job?
App | Our best-fit recommendation | Connection detail to inspect | Suggested acceptance check |
|---|---|---|---|
mailfloss | Recurring contact hygiene | Native authorization from mailfloss | Review a cleanup result and its Encharge outcome |
HubSpot | Sales and marketing contact coordination | Contact scope and field mapping | Follow one eligible contact through initial sync |
Segment | Product behavior reaching marketing | Encharge (Actions) destination | Match a known event to its intended person |
Intercom | Lifecycle messaging across email and in-app channels | Workspace authorization and Flow steps | Confirm the selected Lead or User trigger |
ThriveCart | Purchase-specific follow-up | Case-sensitive order and item events | Compare one checkout with its item events |
ConvertBox | Form-specific lead journeys | Native submission event and box properties | Submit two forms and compare their routing |
The acceptance checks are our proposed review method. They are not claims that we ran these connections or measured their results. Each entry links the underlying setup documentation so you can inspect the route that matches your account.
1. mailfloss: best for recurring Encharge contact hygiene
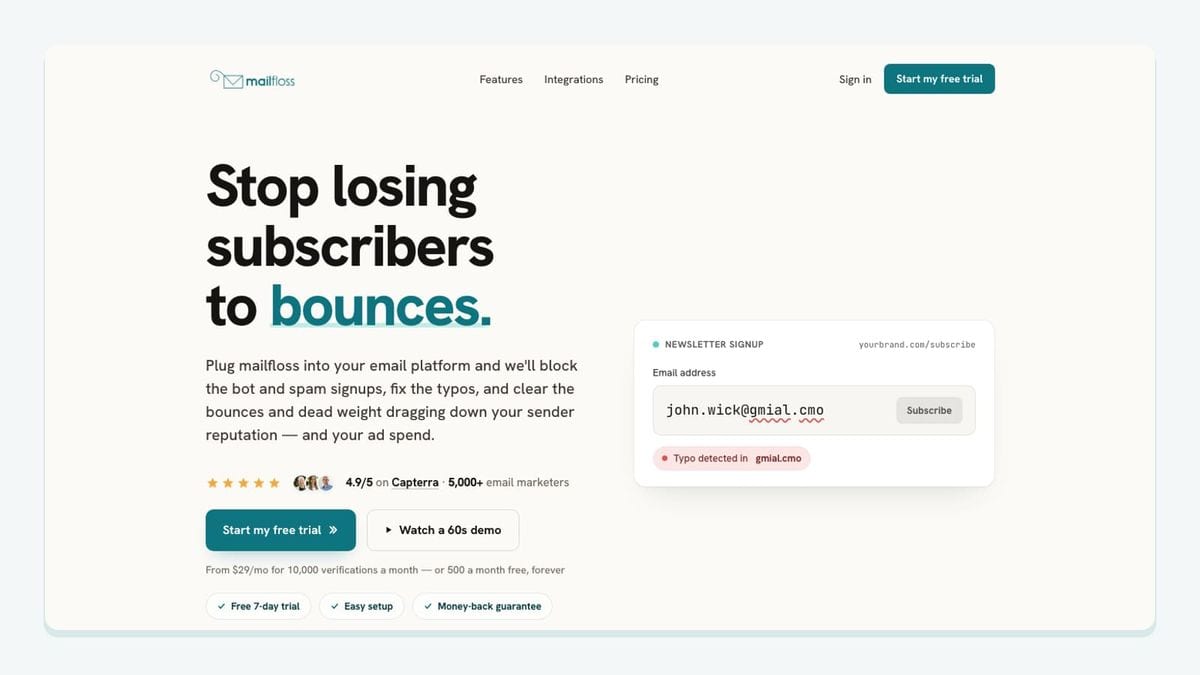
mailfloss is an email verification and automated list-cleaning tool for marketers, with a first-class real-time API for developers and AI agents. Its Encharge connection handles recurring hygiene: authorize Encharge from mailfloss, select the CRMs to watch, and configure cleanup rules for that connection. Scheduled checks can write fixes and removals back to Encharge. Encharge email verification setup
Start with review-first handling while deciding which outcomes your team wants. Typo Fixer addresses recognizable typo patterns; Autofloss checks new contacts daily; Decay Protection rechecks older contacts; Instafloss supports real-time signup protection. Treat watched-source selection and cleanup policy as separate decisions.
Our recommended acceptance check is to record the original contact, the verification result, the chosen action, and the resulting Encharge record. That makes it possible to distinguish “verification ran” from “the intended change reached Encharge.” Do not assume a scheduled check will finish before an immediately triggered email.
For application-controlled decisions, use the email verification API. The API gives product teams and AI agents a programmatic verification route; connecting an ESP does not automatically add a verification call to every external form. Decide where that call belongs in your application’s workflow. mailfloss API overview
2. HubSpot: best for CRM contacts entering Encharge
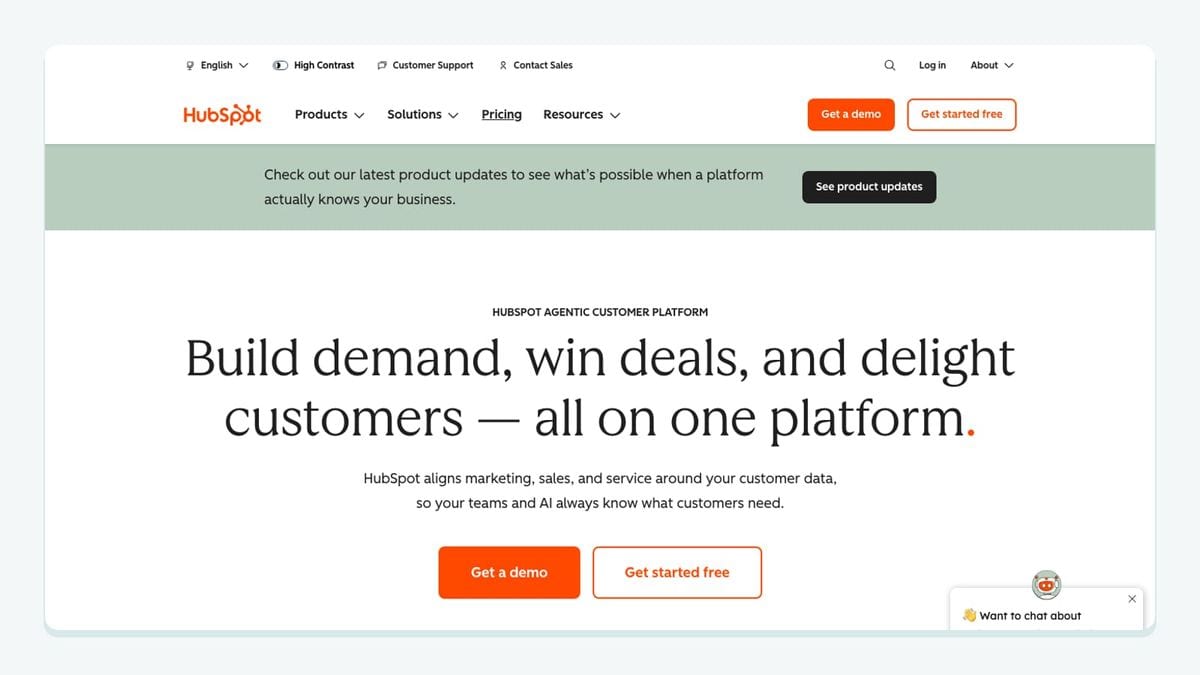
Choose HubSpot when the useful next message depends on a sales record. Encharge’s HubSpot integration supports contact data, CRM-related Flow actions, and email activity visibility, and its documentation places the integration on Premium. HubSpot integration overview
Connect the intended HubSpot workspace from Encharge’s Apps page. Choose all contacts or a HubSpot list as the contact scope, then review custom-field mappings. The connection guide currently allows one HubSpot account per Encharge account. HubSpot connection instructions
The crucial distinction is initial versus ongoing sync. Initial setup brings HubSpot data into Encharge without sending Encharge data back. Subsequent sync supports changes in both directions, subject to documented object limitations. Deleting a contact in one system does not delete it in the other. HubSpot two-way sync behavior
Our recommendation is to name the owner of each important field before enabling a sales workflow. For example, decide who owns qualification status and who resolves a conflicting value. Then inspect one contact included in your chosen scope and one excluded from it. A contact appearing somewhere in the account is weaker evidence than the right contact appearing with the right fields.
3. Segment: best for product behavior driving Encharge Flows
Choose Segment when your marketing decision depends on product activity. In Segment, add the Encharge (Actions) destination, choose the source, configure the Encharge API key, and review the mappings before enabling it. Encharge documents this connection as Premium and advises removing an existing legacy webhook integration before enabling the destination. Segment connection overview
The trigger distinction deserves its own check. Encharge documents a Segment Event trigger for events from Segment. Entered Segment refers to Encharge audience membership; it is not the same step. Select the intended event and inspect its properties before wiring downstream actions. Encharge’s Segment Event trigger
For an initial rollout, we recommend one meaningful product action rather than a large event catalog. Pick an action that changes what you would tell the customer, such as completing a setup milestone. Write down its exact event name, identifying fields, and expected recipient.
Test a repeat occurrence as well as the first occurrence. Should the person receive another message, continue through the existing journey, or stop? The useful deliverable is a documented decision about repetition. A diagram full of incoming events can look complete while leaving that question unanswered.
4. Intercom: best for coordinating in-app and email journeys
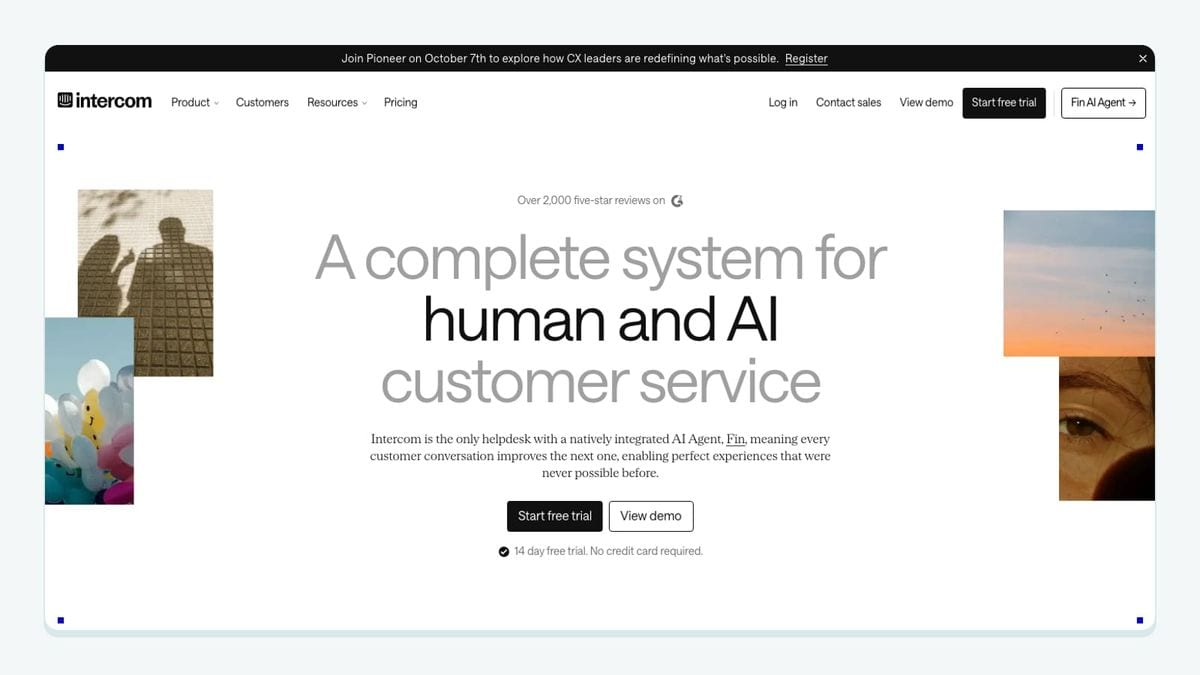
Choose Intercom when a customer journey needs an in-app step alongside Encharge email automation. Connect the correct Intercom workspace through Encharge’s Apps page. Default Lead and User properties are mapped automatically; inspect the Map Fields dialog for custom information your Flow needs. Intercom connection instructions
Encharge exposes separate New Intercom Lead, New Intercom User, and Tagged in Intercom triggers. Its actions include sending an Intercom in-app message and adding an Intercom tag. Choose the step that represents your actual entry condition. Available Intercom Flow steps
Our suggested first workflow is deliberately narrow: pick one lifecycle moment and assign each channel a distinct purpose. The email might explain the next task while the in-app message points to the relevant screen. Write both messages together so they do not sound like two teams independently chasing the same person.
For acceptance, record which Lead or User condition you expected and which one actually initiated the journey. Also inspect the custom field used to personalize the message. Authorization proves access to a workspace; it does not prove that your chosen audience or wording is appropriate.
5. ThriveCart: best for purchase-specific Encharge follow-up
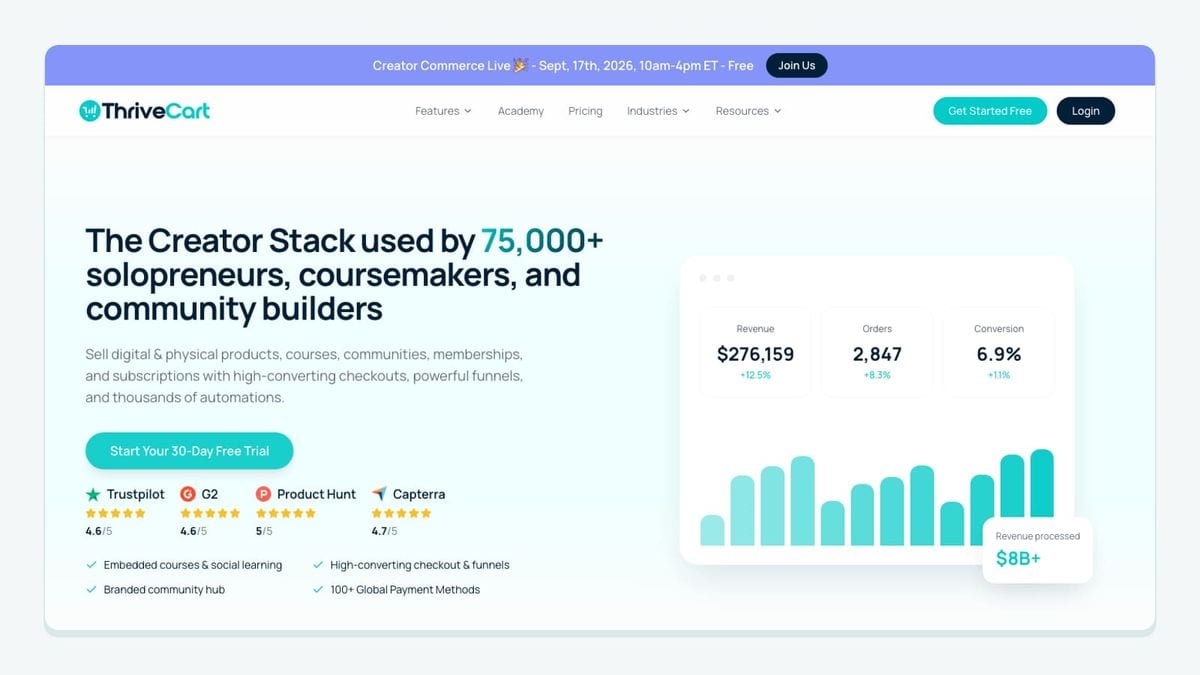
Choose ThriveCart when the next message depends on a checkout event. In ThriveCart Settings → Integrations, select Encharge and authorize it with your Encharge Write Key. The connection then sends event data to Encharge. Use an Event trigger to start the relevant Flow. ThriveCart connection guide
Choose the event’s level carefully: an order event represents the checkout, while purchase events represent individual items. The exact strings are ThriveCart order and ThriveCart purchase. For item-specific routing, inspect properties such as item_reference.
Our recommendation is to separate the general order acknowledgment from product-specific guidance. Before building either, sketch a checkout containing a main product and an additional item. Write the intended number of messages beside each branch. That small exercise exposes accidental duplication earlier than a polished email preview will.
Use a controlled test order and compare the received events with your written expectation. Keep the order-level and item-level acceptance rows separate. If your intended segmentation relies on an Event condition, check the plan requirement: Encharge documents Event conditions as Premium. Encharge segment conditions
6. ConvertBox: best for form-specific lead journeys
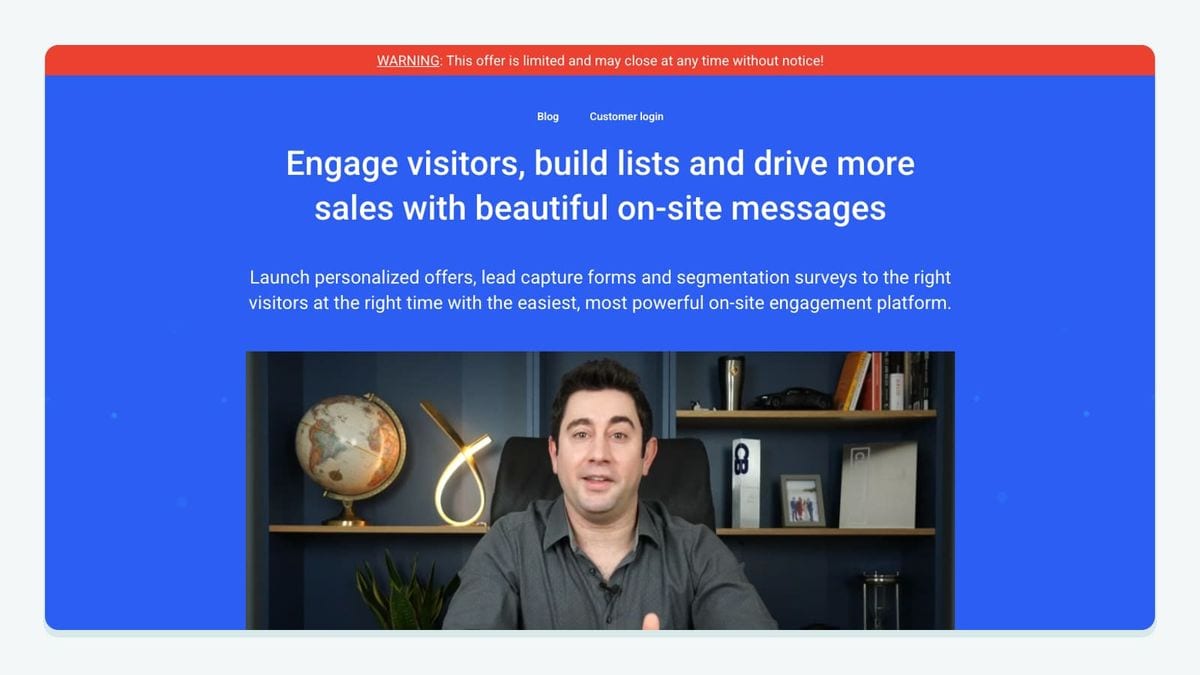
Choose ConvertBox when different forms should lead to different Encharge journeys. Configure its Encharge connection with the Write Key, then add the connection to the individual form using the Sync visitor info action. Save both the form action and the editor changes. Native ConvertBox setup
The native connection sends the ConvertBox Form Submission event. Use Encharge’s Event trigger for that event; the generic Form Submitted route applies to the webhook approach. Properties such as convertbox_box_id let you distinguish forms.
Our recommended test uses two forms with different intended outcomes. Submit the first and record the received form identifier. Repeat with the second, then check that each follows its intended branch. This is more informative than submitting the same form twice and seeing two contacts arrive.
Write your form-specific promise alongside the branch. A newsletter subscription and a request for a particular resource should not accidentally receive identical follow-up just because both supplied an email address. Keep acquisition context visible when reviewing the Flow: which form, which promise, which next message, and which exclusion? That worksheet gives the person reviewing your automation something concrete to compare with the actual behavior.
How can you check an Encharge connection before expanding it?
Use this connection acceptance worksheet to review one narrow journey before connecting more sources. It combines the route-specific distinctions above into a practical handoff between the marketer configuring the Flow and the teammate checking the incoming data.
Worksheet field | What to record |
|---|---|
Customer action | The action that should justify the next message |
Source route | The app, workspace, form, or destination being connected |
Encharge entry | The selected CRM scope, trigger, or event name |
Identity | The person you expect to receive the next step |
Routing detail | The field, tag, or event property used to choose a branch |
Repetition | What should happen when the action happens again |
Hygiene outcome | Whether the contact needs review, cleanup, or an application verification decision |
Observed result | The actual record, event, and downstream action |
Start with an expected result, not a screenshot. For the checkout route, state whether you are counting orders or purchased items. For the form route, state which submitted box should qualify. For CRM sync, state which contact scope you selected. The expected result should be precise enough that another person can disagree with it before anyone activates a customer-facing message.
Next, run a small controlled check and record the actual sequence. Did the source action occur? Did the intended person and data arrive? Did the right Flow branch execute? Was a second occurrence handled as planned? Keep these observations separate: one successful stage does not establish that every stage worked.
Finally, review the relationship between cleanup and sending. If a workflow must wait for a verification decision, explicitly design and verify that dependency. A connection diagram alone does not establish ordering. When another system also stores the contact, inspect that system separately rather than assuming an Encharge outcome propagated everywhere.
Our expansion rule is simple: add another source after you can explain the current route from customer action to observed outcome. This is an editorial operating rule, not a vendor performance guarantee. It helps keep the decision grounded in the journey you are trying to improve.
Which integration should you connect first?
Pick the app that supplies the missing evidence for your next customer decision. Use the CRM route for sales context, the product-event route for behavior, the messaging route for channel coordination, and the checkout or form route for the corresponding acquisition moment. Add recurring hygiene where contact quality needs ongoing attention.
Do not connect all six merely because they are listed. Start with the app you already use and the journey you can describe most clearly. Complete its worksheet, inspect its limitations, and expand when the result is understandable to the next person maintaining it.
Frequently asked questions
Do all Encharge integrations connect from the Apps page?
No. Some connections start in Encharge’s Apps page; others start in the connected tool. For example, ConvertBox uses your Encharge Write Key and a form-level integration action. Check the connector’s instructions before choosing an Encharge Flow trigger.
Which ThriveCart event should start an order-level Encharge Flow?
Use `ThriveCart order` for an order-level Flow. `ThriveCart purchase` fires for each purchased item, so a checkout containing several items can produce several purchase events. Match the event name exactly, including capitalization.
Can mailfloss support both Encharge cleanup and custom verification?
Yes. mailfloss supports recurring Encharge contact cleaning and a first-class real-time email verification API for developers and AI agents. Use the connected cleanup workflow for ongoing list hygiene and the API when your application needs a verification decision.
We write from the practical side of email list cleaning: what helps marketers keep real subscribers, reduce bounces, and avoid turning hygiene into another recurring chore.