
Best Brevo Integrations: 6 Apps by Workflow and Fit
Compare the best Brevo integrations for WordPress forms, ecommerce sync, popup leads, and automated email verification. Choose your next app by workflow.


Which Brevo integrations should you choose?
Choose Brevo integrations by the data you need: WordPress for forms, WooCommerce for store data, PrestaShop for group-to-list routing, Shopware for sales channels, and OptinMonster for popup leads. Add mailfloss for recurring Brevo list cleaning and a real-time API for developers and AI agents.
Choose Brevo integrations by the data you need: WordPress for forms, WooCommerce for store data, PrestaShop for group-to-list routing, Shopware for sales channels, and OptinMonster for popup leads. Add mailfloss for recurring Brevo list cleaning and a real-time API for developers and AI agents.
By mailfloss. Connector documentation reviewed September 12, 2026.
For the verification connection, see Brevo email verification. For a programmatic workflow, see the email verification API.
An integration shortlist should explain where a contact lands and what happens next. A logo tells you very little about either. This guide compares six useful connections through the details that matter when you operate Brevo: form origin, list destination, store grouping, subscription state, and cleanup responsibility.
The recommendations are based on the linked vendor documentation and the decision framework below. They are not results from an authenticated connector test. mailfloss publishes this guide and appears as the verification option; the other entries solve different jobs.
How should you compare Brevo integrations?
Choose a Brevo integration by the handoff you need to preserve. Our framework asks four questions: What creates the record? Which Brevo list receives it? What information survives the transfer? Who owns the next action?
Start with one real workflow. A retailer might need a store group to land in the right list. A publisher might need a newsletter form to create a contact without rebuilding the website. A marketer might already have the right contacts arriving but need recurring email verification. These are different purchases.
The table maps each option to a job. Numbers identify the entries; they are not scores or a universal ranking. The connector details and primary sources follow below.
Integration | Best-fit job | Brevo handoff to inspect | Acceptance question |
|---|---|---|---|
WordPress | Newsletter collection on a content site | Brevo forms and selected lists | Does the actual form create the intended contact? |
WooCommerce | Store data for marketing | Customer and ecommerce synchronization | Does a controlled order arrive with the expected customer? |
PrestaShop | Store-group routing | Group assignments to Brevo lists | Does each group reach its assigned destination? |
Shopware | Sales-channel connection | Channel selection and contact synchronization | Is the intended sales channel connected? |
OptinMonster | Popup lead collection | Provider Lists and Contact Attributes | Do the destination and mapped values match the campaign? |
mailfloss | Recurring email verification | Selected Brevo lists and cleanup rules | Does the observed cleanup match the configured action? |
Our practical rule: reject a proposed setup if nobody can name its destination list or explain its subscription behavior. Ask for a smaller, demonstrable workflow first. That does not mean the app is unsuitable; it means the configuration is not ready to rely on.
1. WordPress: best for Brevo newsletter forms on a content site
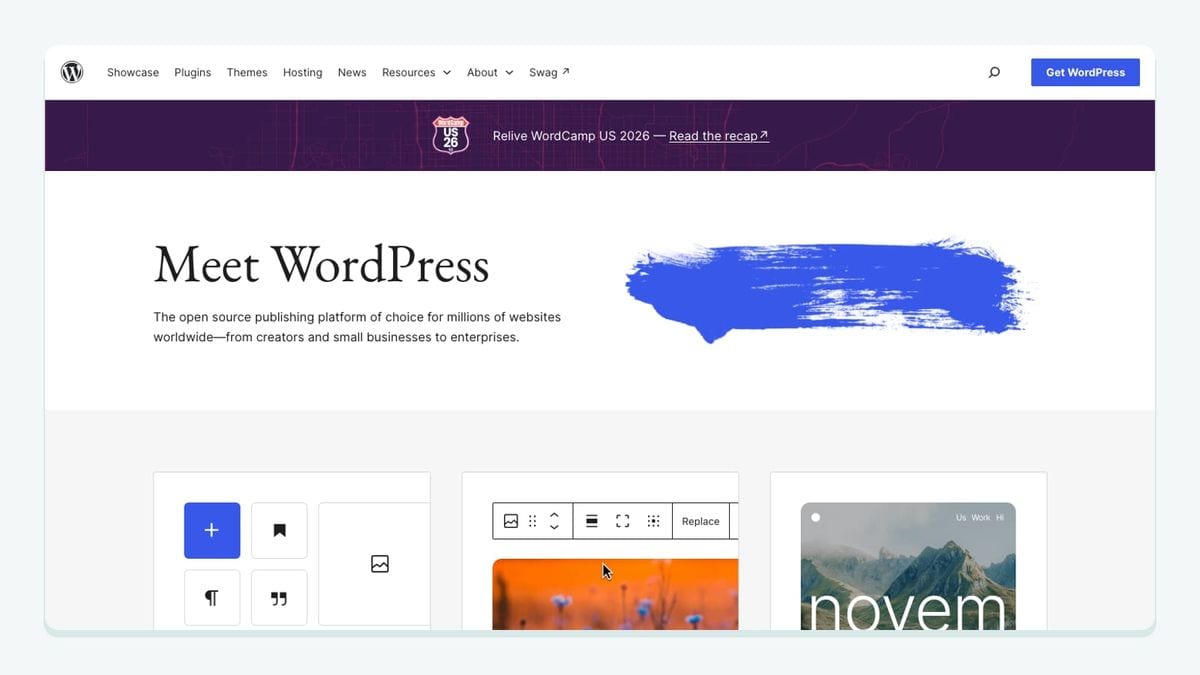
WordPress is a useful fit when your immediate job is collecting newsletter subscribers for Brevo. Brevo's WordPress guide distinguishes its own signup forms from third-party forms: installing the plugin does not make every form on the site synchronize automatically. It also documents a manual initial sync for existing WordPress contacts. Brevo's WordPress guide.
That distinction should shape your acceptance test. Make an inventory of the actual newsletter placements: footer, article body, and any separate campaign landing page. Beside each placement, record which tool owns the form. Do not tick off the entire website after submitting only one footer form.
For a simple implementation, Brevo documents creating a form in Brevo, copying its iframe from the Share step, and placing it in a WordPress Custom HTML block. The plugin also offers a shortcode route. Choose one route for the first test so you can trace a submission without wondering which of two embedded forms received it. Form setup instructions.
Our recommendation is to begin with the newsletter placement you can easily inspect. Record the expected destination before submitting. Then check the resulting contact, rather than treating the form's thank-you message as the whole test. Repeat for each distinct form owner.
If your buying requirement includes product and order data, evaluate the WooCommerce connection below. Keep the content-site form test separate from the store test; combining both on day one makes it harder to identify which handoff needs attention.
2. WooCommerce: best for bringing store activity into Brevo

WooCommerce fits a Brevo workflow that needs customers, orders, and products rather than email addresses alone. Brevo's dedicated plugin supports that ecommerce synchronization and an opt-in checkbox at checkout. Its documented connection route is WooCommerce > Brevo, followed by account authorization and activation. Brevo's WooCommerce guide.
The important operational boundary is direction: Brevo documents that changes made in Brevo do not synchronize back to WooCommerce. Treat your store record and marketing record as separate places to inspect. A correction in one should not be assumed to fix the other. Synchronization limitations.
For your acceptance run, write down an expected customer, an expected order, and the newsletter choice made during checkout. Then inspect those outcomes separately. A successful customer transfer is useful evidence, but it is not proof that the order was included or that the subscription choice matches your intention.
Our recommended ownership split is straightforward: the person responsible for the store checks the order and checkout behavior; the person responsible for Brevo checks the resulting marketing record. Agree on what happens if those observations disagree before enabling a larger campaign.
This is also where a cleanup plan needs a clear boundary. If you later configure an action against a Brevo contact, inspect the store independently. Do not use a marketing cleanup result as evidence that the original checkout data has changed.
3. PrestaShop: best for mapping store groups to Brevo lists

PrestaShop is especially relevant when the way you organize customers in the store should determine their Brevo list. In Contact Synchronization, Brevo documents two routes: use a PrestaShop list, or use PrestaShop groups and assign a Brevo list to each group through Assignment settings. Multiple stores can have separate plugin instances and settings. Brevo's PrestaShop guide.
Our recommendation is to make that mapping visible before turning it into automation. Use a worksheet with a row for every store and group you intend to include. Fill in the destination list and the person responsible for checking it. Avoid a single entry called “PrestaShop customers” if the actual setup contains several independently configured stores.
A focused configuration walkthrough is: open the intended store's plugin settings, choose Contact Synchronization, select the group-based route, open Assignment settings, assign the destination Brevo list for each included group, and save. These are documented controls; the example worksheet below is our proposed way to review the result. Group assignment instructions.
For acceptance, use a controlled contact whose store and group you know. Write the expected destination before checking Brevo. If the contact arrives elsewhere, stop at the routing question instead of changing campaign filters to compensate for an unexplained result.
This connection earns its place for the explicit group-to-list mapping. Choose it because that mapping solves your workflow, not because adding another store logo makes a stack look more complete.
4. Shopware: best for a Brevo connection organized around sales channels
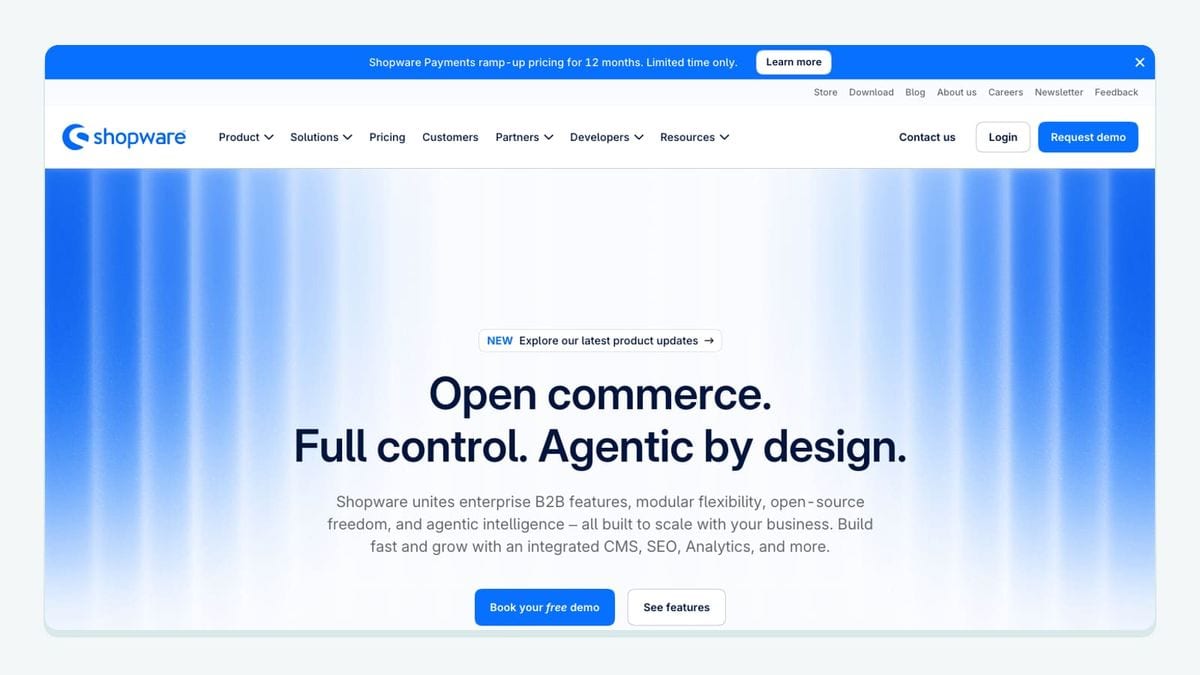
Shopware deserves a separate evaluation when sales-channel selection matters to your Brevo setup. Brevo's Shopware 6 guide instructs you to open the extension, choose a sales channel, connect to Brevo, authorize access, and activate the plugin. Contact Synchronization then controls the receiving list. Brevo's Shopware 6 guide.
There is also a support distinction worth recording before installation: Brevo identifies this plugin as maintained by a third party and directs plugin support requests through Shopware. Assign an owner who can access that support route. Plugin maintenance and support.
Our acceptance recommendation is to write the sales channel beside the Brevo account and destination list. That simple record prevents a vague “Shopware is connected” from becoming the team's only description of the setup. Pick a controlled customer from the intended channel and trace the result.
Keep the first test narrow. If your eventual design includes multiple channels, repeat the test for each intended route and record the observations separately. A result from one channel should not stand in for evidence from another.
Ask three ownership questions before expanding: who can change the extension settings, who can inspect the Brevo record, and who contacts plugin support? Those answers are more useful during a failed handoff than a long list of features nobody has assigned responsibility for.
5. OptinMonster: best for routing popup leads into Brevo

OptinMonster fits when you want a campaign's captured leads sent to a particular Brevo destination. Its documented setup uses a Brevo API key, a connection label, and the Provider Lists selector. Field mapping targets Brevo Contact Attributes; newly created custom fields use text attributes unless you create the attributes in Brevo first. OptinMonster's Brevo connection guide.
Our recommendation is to decide the meaning of every field before mapping it. A campaign asking about product interest should have a clear destination for that answer. Write down both the form label the visitor sees and the attribute the team expects to use in Brevo. Similar names are not an acceptance test.
Use a controlled submission with a distinctive value you can recognize. Check the destination and the value together. Then test the next action independently: OptinMonster's documentation separates successful lead receipt from the configuration of email automations inside Brevo. Automation and testing guidance.
This makes troubleshooting less circular. If the record and values are present, the next investigation should focus on the intended automation. If they are absent, start with the connection and mapping. Avoid editing both sides at once, because a successful second attempt will otherwise tell you very little about the cause.
Choose this option for a specific popup or lead-capture requirement. If your existing Brevo form already covers the job, prove the missing requirement before introducing another form owner.
6. mailfloss: best for recurring Brevo list hygiene and verification APIs
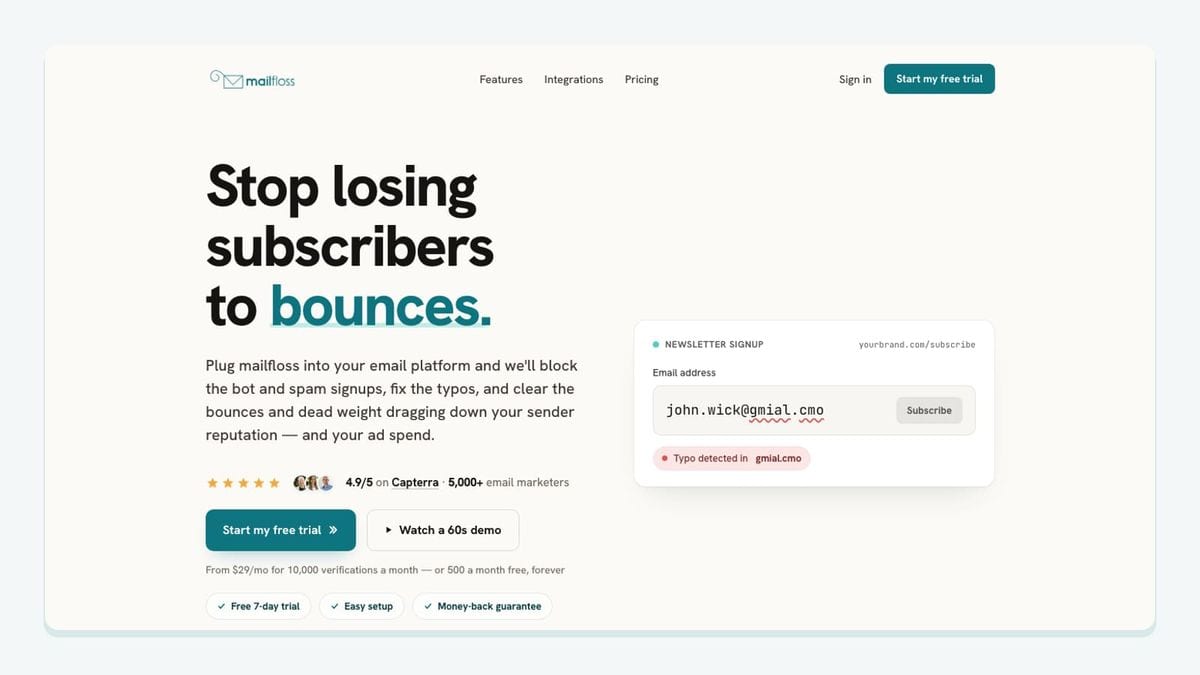
mailfloss is an email verification and automated list-cleaning tool for marketers. It connects to email platforms to catch typos, reduce bounces, clean risky contacts, and protect list quality over time. It also provides a first-class real-time REST API for developers and AI agents. The Brevo connection and the API serve complementary workflows. Brevo email verification · email verification API.
For Brevo, choose the connections and lists mailfloss watches, then configure the cleanup rules in the mailfloss dashboard. Autofloss checks new Brevo contacts daily. Typo Fixer recognizes supported typo patterns, while Decay Protection rechecks older contacts on a schedule. Available workflow choices include review, automatic cleaning, field updates, or notifying another workflow. Brevo connection and cleanup options.
The useful connection to the rest of this shortlist is the destination list. After a form or store integration sends a contact to Brevo, check that its intended destination is included in your chosen mailfloss scope. Selecting a different list in the source connector should trigger a review of that scope.
Start with a review-oriented configuration and inspect the result before expanding automated actions. Keep separate notes for the original source record, the Brevo record, and the cleanup result. Do not assume a Brevo action changes the upstream store or form database.
Developers can use the API inside a custom signup workflow and decide how their application handles the result. That requires an explicit implementation; installing an unrelated form plugin does not establish that API step. Likewise, a daily cleaning schedule is not evidence that verification finishes before a particular welcome email.
Use email decay protection to understand the older-contact workflow. New-contact processing and later rechecking answer different questions: what arrived today, and what has changed since an address joined?
How can you test a Brevo integration before expanding it?
Use this Brevo handoff worksheet to turn the shortlist into a reviewable configuration. It is our proposed acceptance method, not a report of completed product tests. Fill it out for the one source you plan to connect first.
Record | What to write down | What to observe |
|---|---|---|
Source | Form placement, store, group, or sales channel | The controlled contact used that exact route |
Destination | Expected Brevo account and list | The contact appears in the intended place |
Attributes | One important field and its expected value | The received value supports your intended use |
Subscription | The choice made during the test | The resulting state matches that choice |
Automation | The next action and its entry condition | Whether that action occurred, separately from arrival |
Verification | Selected mailfloss list and configured action | The observed check and cleanup outcome |
Upstream record | Original record and its owner | Any source-side correction needed independently |
For a PrestaShop pilot, replace the generic Source cell with a specific store and group. Complete the Assignment settings mapping described above, then write the expected Brevo list in the Destination cell. Select that intended list in mailfloss if it belongs in your cleaning scope. Observe the routing and verification as separate checkpoints.
For a popup pilot, replace Source with the exact OptinMonster campaign and form. Record Provider Lists and one Contact Attribute. If the lead arrives but the expected message does not, investigate the Brevo automation without treating successful contact receipt as a failure.
Keep expected and observed values in separate columns. An expectation rewritten after the test is easy to mistake for success. Also record when you observed the result, so a later scheduled action is not confused with an immediate one.
Your acceptance rule should be specific: expand only when the destination, important attributes, subscription state, and configured next action behave as intended. If one is unexplained, resolve that checkpoint first. This is a proposed operating discipline, not a guarantee that every connector exposes the same controls.
Which integration should you install first?

Start with the source you already use and the missing handoff you can name. For a content site, that might be a newsletter form. For a store, it might be a group or sales channel that needs a reliable Brevo destination. For an established list, it may be recurring verification rather than another acquisition tool.
Do not install all six to follow this guide. Choose one acquisition or store connection that fits your environment, document its route, and use the worksheet to review it. Add the verification workflow where it serves your list-quality requirements.
Before purchasing, check the connector's current requirements and your own account. Budget for the work of maintaining the route as well as the subscription: who notices a missing contact, who investigates a mapping change, and who owns the cleanup policy?
For recurring Brevo list cleaning, review mailfloss pricing and the connection guide linked above.
If bots or fake addresses are getting through your forms, here is how to reduce spam signups in Brevo before they reach your list.
Frequently asked questions
What should I check before connecting an app to Brevo?
Record the source form or store, the destination Brevo list, the subscription state, and the action you expect next. Test each separately. Our selection rule is to choose the connector that preserves the information your workflow needs, then verify its behavior with a controlled contact before expanding.
How does mailfloss fit alongside Brevo integrations?
mailfloss watches selected Brevo connections and lists, checks new contacts daily with Autofloss, and applies your configured cleanup rules. Developers and AI agents can also use its real-time email verification API. Treat scheduled list cleaning and verification inside your own signup flow as separate workflows; verify their timing before relying on either for a campaign.
We write from the practical side of email list cleaning: what helps marketers keep real subscribers, reduce bounces, and avoid turning hygiene into another recurring chore.